CaptainFletch.com Logo
 Homepage . Artwork . Design Services . Sailing . Sitemap ..
Home > Projects > Homemade Bar Design > Free Plans

EYC's Glorious Homemade Bar

Once upon a time in our glorious house there was a bar, and one day someone stole it from our home. This, is the result...

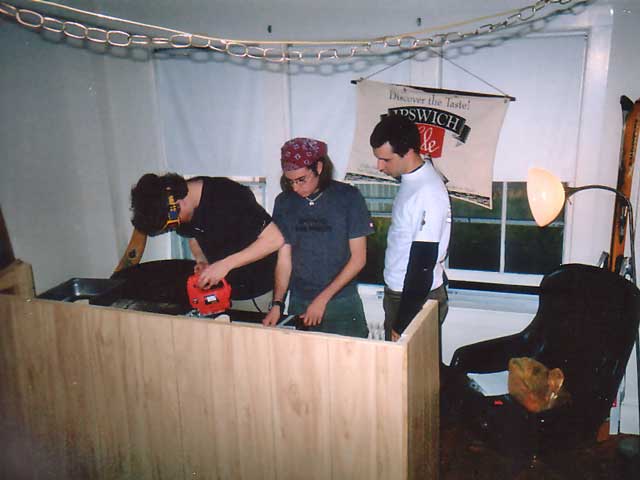
The construction team is hard at work installing the bar's dry sink.


Homemade Bar Plans

The bar seen in these photographs was made by four college students with $200 and about two weeks. It's easy to build, cheap and looks fantastic.

After looking at other do it yourself homemade bar plans on the internet, we decided that none would ever be quite as awesome as a bar we designed oursleves. We made an extremely manly expedition to the local home depot to check out our different options. As the resident sculptor, I was chosen to draw up some plans.

  >> Check out my original bar plans in .pdf, 867kb (opens new window)

Dimensions
The bar top is 8' long and 24" wide. It stands 44" off the ground and the whole structure is 36" wide. The room where it resides is about 12'x24', providing ample space to move around.

Frame
The frame is made out of standard 8' 2x4 studs using glued lap joints. Each joint is glued together to create a structure which is nearly indestructible. (I say near given the harsh environment in which it resides)

Bartop
The bar top and counter top are both made by cutting one sheet of 4x8 plywood down the middle. We used a finely sanded hardwood maple sheet resulting in a sturdy bar top which "feels good and solid."
The edging is simply some crown molding secured flat on the top. There is also a thin strip of wood which covers the ugly plywood edges. The back edge has a 1.5"x 3/4" strip which gives it a nice effect from the back.

Rear Counter
The rear counter is supported by the leftover studs from the frame and some cheap drywall screws. We found a stainless steel pan and turned it into a dry sink. Mid construction we realized that there wasn't enough clearance on the coutnertop for bottles, so we added the drop down section fo the counter.

Finish
The top is covered with two coats of stain and several coats of urethane. The front paneling is made of cheap 1/8" fiberboard and should be upgraded if your budget allows. We used various peices of molding to cover the corners and floor molding.

Accessories
To make your bar as awesome as possible, you need the proper accessories. We added a series of bronze cleats to the top, a ships bell, and a bottle opener. We had aplanned to attache a pair of skis to the front, but they were too bomber to accomadate any sort of attachment system.

Afterthoughts
If I were to construct this bar again, I would lower the back countertop several inches to allow for better preperation space.

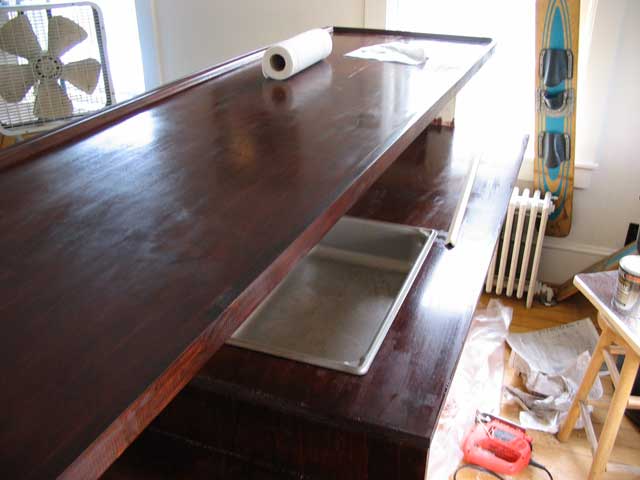
The finished product (back) - you can see the counter, sink and part of the dropped counter section.
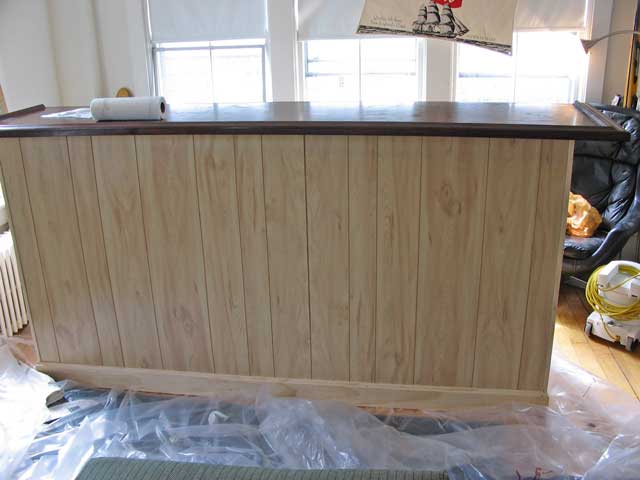
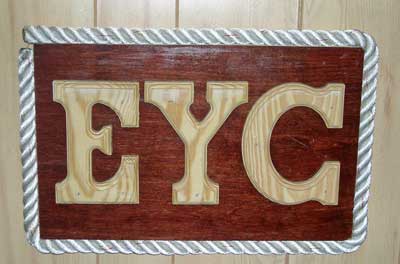
The front of the bar before installing our insignia.
homemade bar rear view countertop 
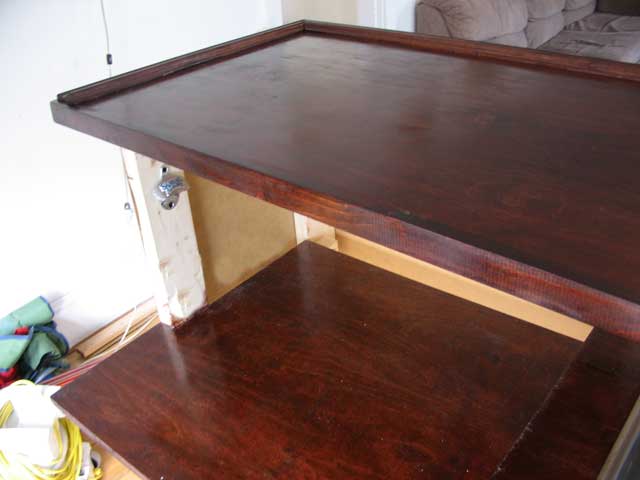
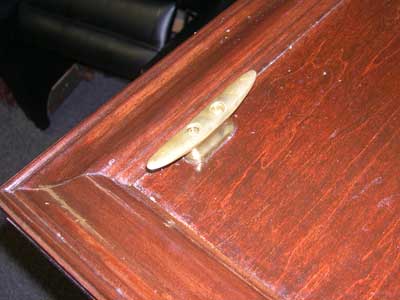
The drop-down section of the bar was designed to accommodate tall bottles and blenders. Note the bottle opener.
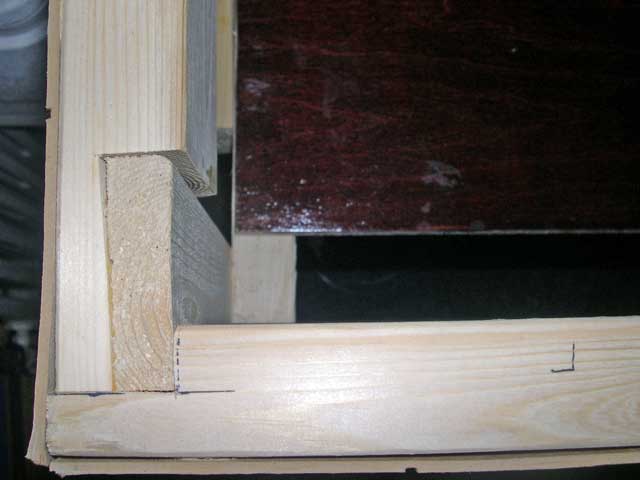
An example of one of the glued joints used to build the frame of our home made bar.


Back to the CaptainFletch.com Homepage